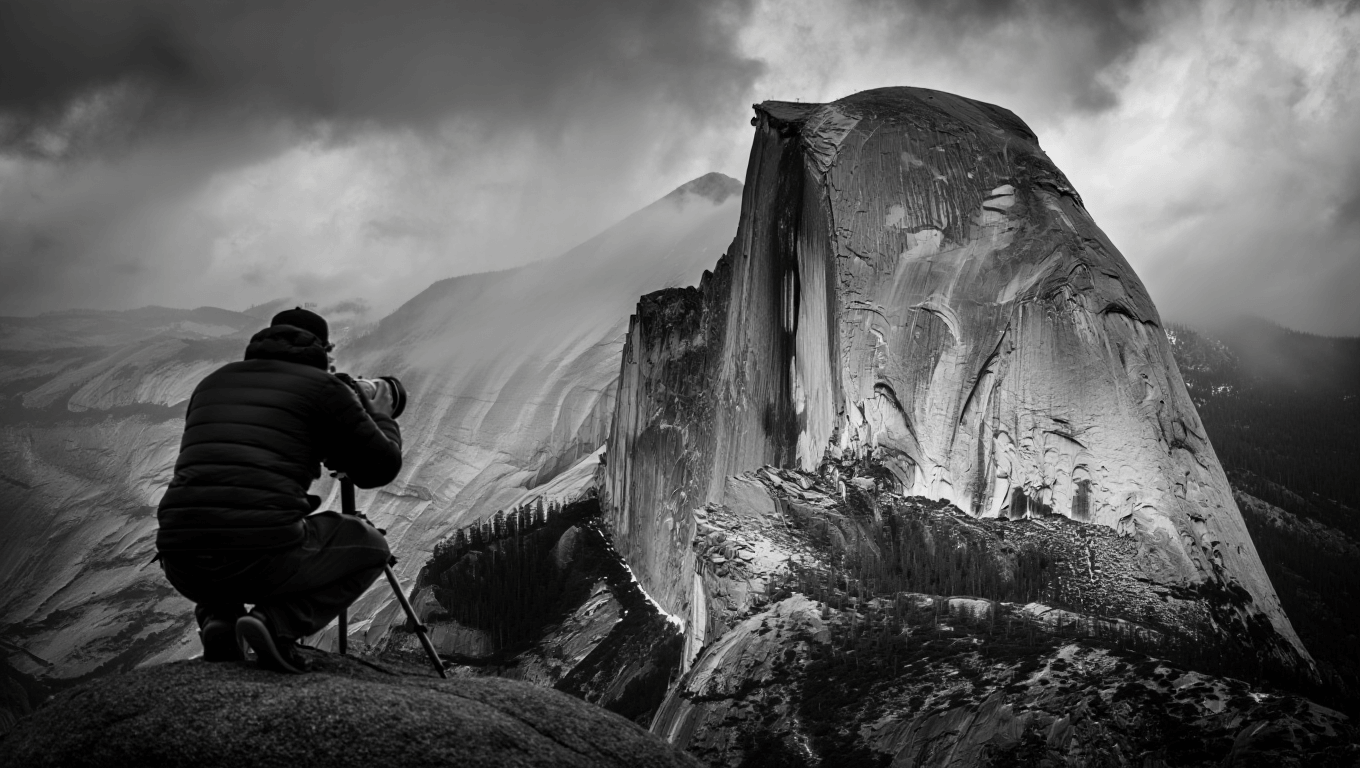
If you plan to photograph Yosemite this year, a few technical shifts can make the park’s familiar icons look fresh and three-dimensional on your camera. On a recent afternoon in the valley I joined a local pro for a hands-on session and came away with practical techniques that matter now: they help salvage tricky light, deepen landscapes, and turn routine snapshots into publishable images.
Start with where you focus
My guide, Kirk Keeler — who has photographed Yosemite for nearly a decade — began with a simple but underused rule: don’t aim the focus point dead center. Instead, focus roughly one-third of the way in front of your main subject. That small shift increases the effective depth of field, keeping the foreground sharp while letting the background fall into pleasing detail.
Keeler also recommended shooting in aperture-priority and selecting an aperture around f/9–f/11, which tends to be the sweet spot for many lenses when you want both edge-to-edge clarity and minimal diffraction.
Make the tripod a decision, not an afterthought
Even at seemingly stable riverbanks where handholding felt fine, I was urged to set up a tripod. The physical act of mounting the camera slowed the process and forced me to consider composition more deliberately — the result was cleaner frames and fewer accidental crops.
There’s a secondary payoff: slower, steadier shooting makes long-exposure effects on water much easier to control without introducing blur from camera shake.
Use the histogram to protect highlights
One of the most immediate improvements came from consulting the histogram rather than relying on the LCD preview alone. By watching the histogram after each exposure I could tell if highlights were blown out — a common problem when shooting waterfalls in strong midday light — and adjust exposure before moving on.
Dialing down exposure to preserve cloud detail or texture in white water often leaves shadows darker, but those are far simpler to recover in post than irretrievable blown highlights.
Work the changing light
At Tunnel View we watched the light evolve over an hour, and the scene transformed: flat midday tones gave way to streaks of contrast, then a warm, low-angle glow. That window rewarded fast lens swaps — from wide to telephoto — to capture both the sweeping vista and the small, luminous sections on the cliffs.
When you have limited time, prioritize what the light emphasizes and recompose for that detail rather than forcing a single, static framing.
Lessons are worth their price — if you use them
I paid $375 for a four-hour private tutorial. That’s a significant outlay for a freelance photographer, but the practical rules I learned — where to focus, why bring a tripod, how to read the histogram, and when to change lenses — already changed how I shoot. The payoff isn’t just more likes on social media: better technique preserves the scene’s tonal range and gives you frames that hold up in print or publication.
- Valley View / Tunnel View: The classic composition with El Capitan and Half Dome; late afternoon to sunset offers rich side light.
- Vernal Falls: A demanding 3.5-mile climb each way; the narrow granite trail yields dramatic water-flow shots — be prepared to share space with other hikers.
- El Capitan at the Bend: A less-signposted trail leads to a mirror-like bend in the Merced River; consult a map or a local for the route.
- Glacier Point (Half Dome view): Sunrise rewards you here with clear, soft light; vantage points are reachable from the visitor area via paved paths.
- Sentinel Dome: A short, one-mile hike brings a 360-degree outlook ideal for either sunrise or sunset; continue to Taft Point for dramatic cliffs.
Practical tips to remember on your next visit: carry a compact tripod, learn to read your histogram before you trust the screen preview, and experiment with focusing slightly in front of your main subject to deepen perspective. Small adjustments in technique will help you capture Yosemite’s scale and texture more accurately — and make images that feel both timeless and immediate.
Similar Posts
- Canadian Rockies train journey unveils a week of breathtaking alpine scenery
- North America’s Top Winter Getaways: Discover the Magic and Splendor
- UK’s longest overnight train: what travelers need to know
- New England fall foliage: where to drive now for peak autumn color
- Alaska Railroad draws families nationwide: scenic train trip kids love

A globe-trotter and international trade enthusiast, Oliver explores the connection between business travel and trade opportunities.

